Elderberry wine is one of the easiest fool-proof wines to make and is a great option if you are making your own batch of wine for the first time.
With little effort, you’ll have a balanced dry, red wine that has a deep, vibrant, full-bodied colour, with a hearty, rich, smooth flavour. It makes a fantastic accompaniment to a winter casserole or stew, or would be an ideal accessory as an after-dinner wine with cheese.
Elderberries are rich in anthyocyanidins (sugar-free plant pigmentation’s) that combine to give the Elderberries their distinctive dark purple colour and are therefore often used as natural colour additives. They are also thought to to provide natural relief to coughs and colds so can be found in many cough syrups and many believe they can boost the immune systems so are regularly used as a dietary supplement.
Sourcing Elderberries
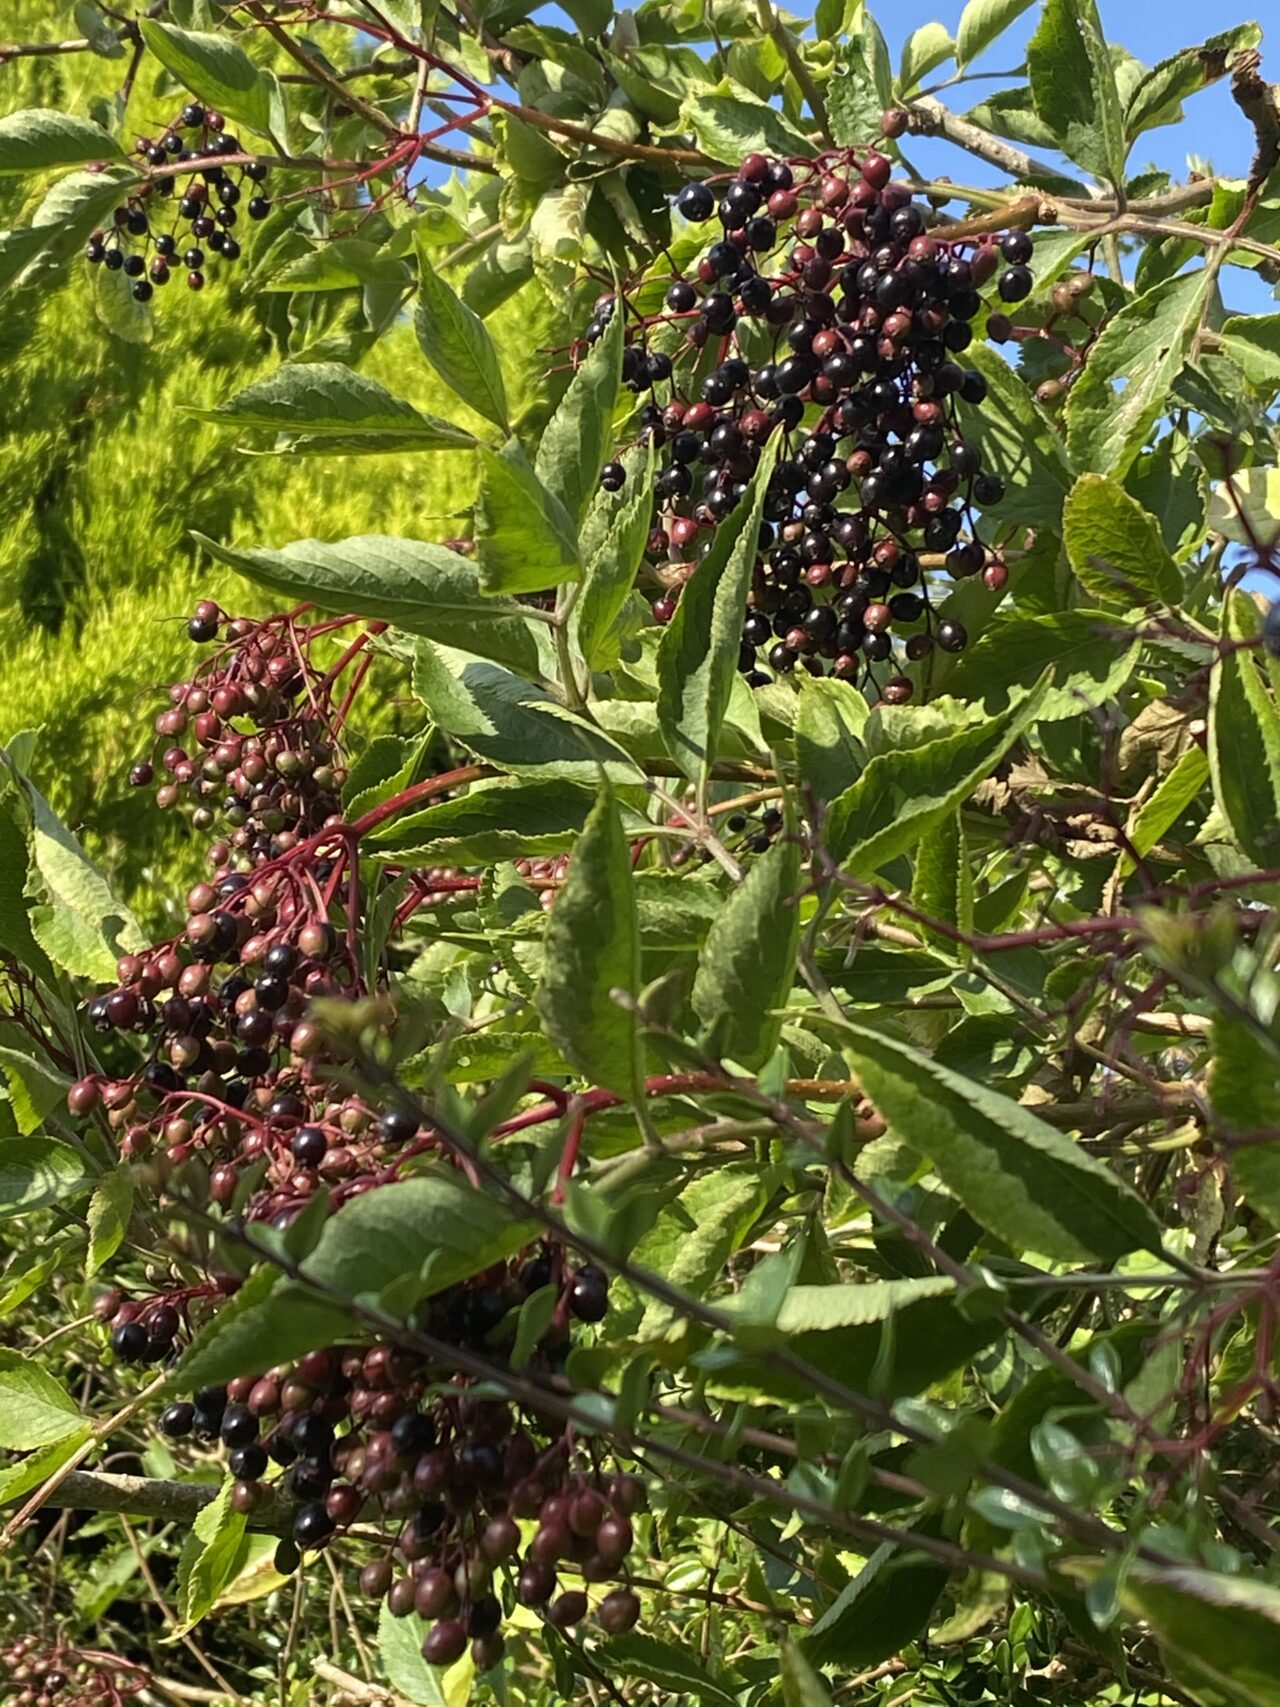
If you don’t have an Elder tree in your own garden, you can often find them growing in the hedgerows throughout the UK countryside.
The trees prefer moist, well-drained soil and plenty of sunlight so can often be found along riverbanks or streams.
The Elder tree can grow as high as 20 feet (6 meters) and its berries will grow over the top two-thirds of the tree so be prepared with a small step ladder, a long crooked stick to help you pull down higher branches, or take a very tall friend with you!
The Elderberries grow in clusters and will be ready for harvesting when the entire cluster has turned to a dark purple colour. Depending on the great British weather, this can be anytime between August – October.
Picking the Elderberries one-by-one will be near-impossible therefore, it is easiest to pick the whole cluster of Elderberries and separate them from the stems later. It is fairly effortless to pick each cluster but you may find it easier to snip the stem with a pair of scissors.
Precautions
Both the flowers and the berries from an Elder tree are edible but other parts of the tree can be toxic. Therefore, before consuming any Elderberries, you should ensure the following:
- You have correctly identified the tree as an Elder tree. The cluster of dark purple berries is fairly identifiable but there are similar trees with red berries that are poisonous. If you are unsure, please check first.
- You are not allergic to Elderberries – a small percentage of the population can have an allergic reaction to the berries and flowers.
- Do not eat the Elderberries when harvesting them. They will be sour and if not fully ripe, can be poisonous and cause nausea.
Equipment needed:
This recipe is for 1-gallon (8 pints / 4.5 litres of Elderberry wine.
- Sodium Metabisulphite
- A large saucepan
- Muslin
- Fermenting bucket with lid
- I have purchased a 5-gallon bucket as although this recipe is for 1-gallon, I can use this bucket for other wine-making of larger quantities – see my Plum wine recipe!
- Thermometer
- Hydrometer
- A long-handled spoon or spatula for stirring your wine
- 1-gallon Demi-John with rubber bung and airlock
- Siphon
- Funnel
- 6 wine bottles and stoppers/corks
Ingredients
- 5lb (1.5kg) Elderberries
- When picking the clusters of Elderberries, I try to fill two carrier bags, which gives me approximately 5lb of Elderberries.
- 1 gallon (8 pints / 4.5 litres) water
- 3lb Sugar (1.5kg)
- I like my wine a little sweeter therefore I use 2lb (1kg) of Brewing & Winemaking Sugar and 1lb (0.5kg) of household granulated sugar. If you prefer your wine dry, use all Brewing and Winemaking sugar instead.
- 1/2 tsp ground ginger
- Pectolase (1 tsp per gallon)
- Campden Tablet (1 tablet per gallon)
- Yeast (1 tsp per gallon)
- Yeast Nutrient (1 tsp per gallon)
Method
1. Preparation
- The red Elderberry juice will stain anything it comes into contact with so wear rubber gloves and an apron to avoid splashes.
- At each stage below, ensure you sterilise all your equipment with the Sodium Metabisulphite to kill off any bacteria and minimise the risk of oxidisation . Once you have sanitised your equipment, be sure to rinse, as any leftovers may inhibit your fermentation
2. Preparing the Elderberries.
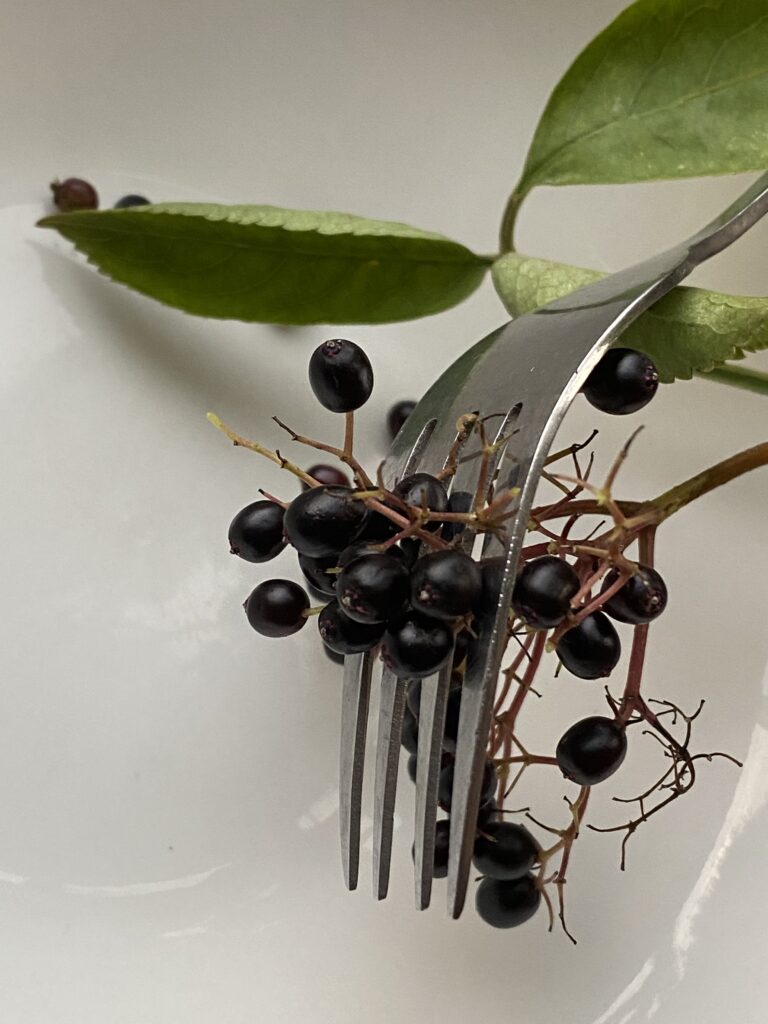
- Begin by removing the Elderberries from their stalks. The first time I did this I was surprised how easily this is done with a fork. Simply put the prongs of the fork over the stalks and comb the fork through the Elderberries and they will pop off into a bowl.
- Thoroughly wash the Elderberries and submerge them in water. This will cause any unripe berries, stalks, leaves and debris to float to the top of the water, making it easier to separate and discard them.
- At this stage you can freeze the Elderberries. Place them in a freezer bag and remove all the air. They should keep for up to 12 months quite successfully.
3. Fermentation
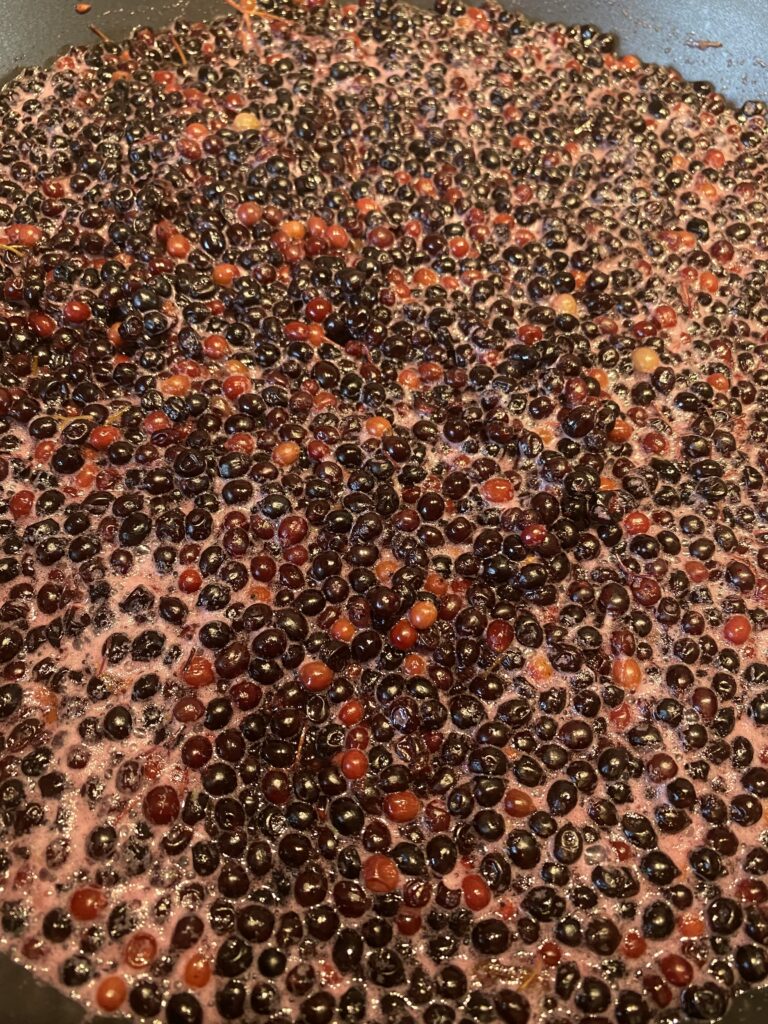
- Place the 5lb Elderberries and 1 gallon of water into the large saucepan and bring to the boil. My largest saucepan wont hold all the Elderberries and water in one go, so I usually split this stage into 4 or 5 batches.
- Turn down the heat and simmer for 20 minutes, stirring occasionally. Keep an eye on pan to ensure it doesn’t bubble over.
- Turn off the heat and leave to cool for 15 minutes.
- Stretch the muslin over the fermenting bucket. I usually secure this in place with a piece of string or with some clothes pegs!
- Pour the Elderberry mixture into the muslin. Take care as it will slop and splash all over the place!
- Leave the mixture to strain through the muslin and cool down a little more but don’t let it go totally cold as we need some heat to melt the sugar in a couple of steps time.
- Once all your mixture has boiled and added to the muslin, squeeze the muslin to release as much of the liquid from the Elderberries as possible. *Caution* this liquid will still be hot so be very careful! If the mixture is too hot to handle, set the Elderberry-filled muslin to one side, complete the last step to add the sugar to the liquid, then squeeze out the remaining liquid from the muslin once the Elderberries have cooled.
- Add 3lb sugar to the hot Elderberry liquid and stir until it is dissolved.
- Leave to cool, checking the temperature regularly.
- Once the liquid has cooled to 20°C, add 1tsp Pectolase and 1 crushed Campden tablet.
- Stir thoroughly.
- Put the lid on the bucket and leave for 24 hours.
4. Adding the yeast
- Remove the lid and stir the Elderberry liquid thoroughly.
- Using the hydrometer take a reading and make a note of the result.
- Add 1tsp Yeast and 1tsp Yeast Nutrient.
- Stir thoroughly again and replace the lid loosely.
- Store the fermenting bucket somewhere warm – ideally at 18°C – 22°C
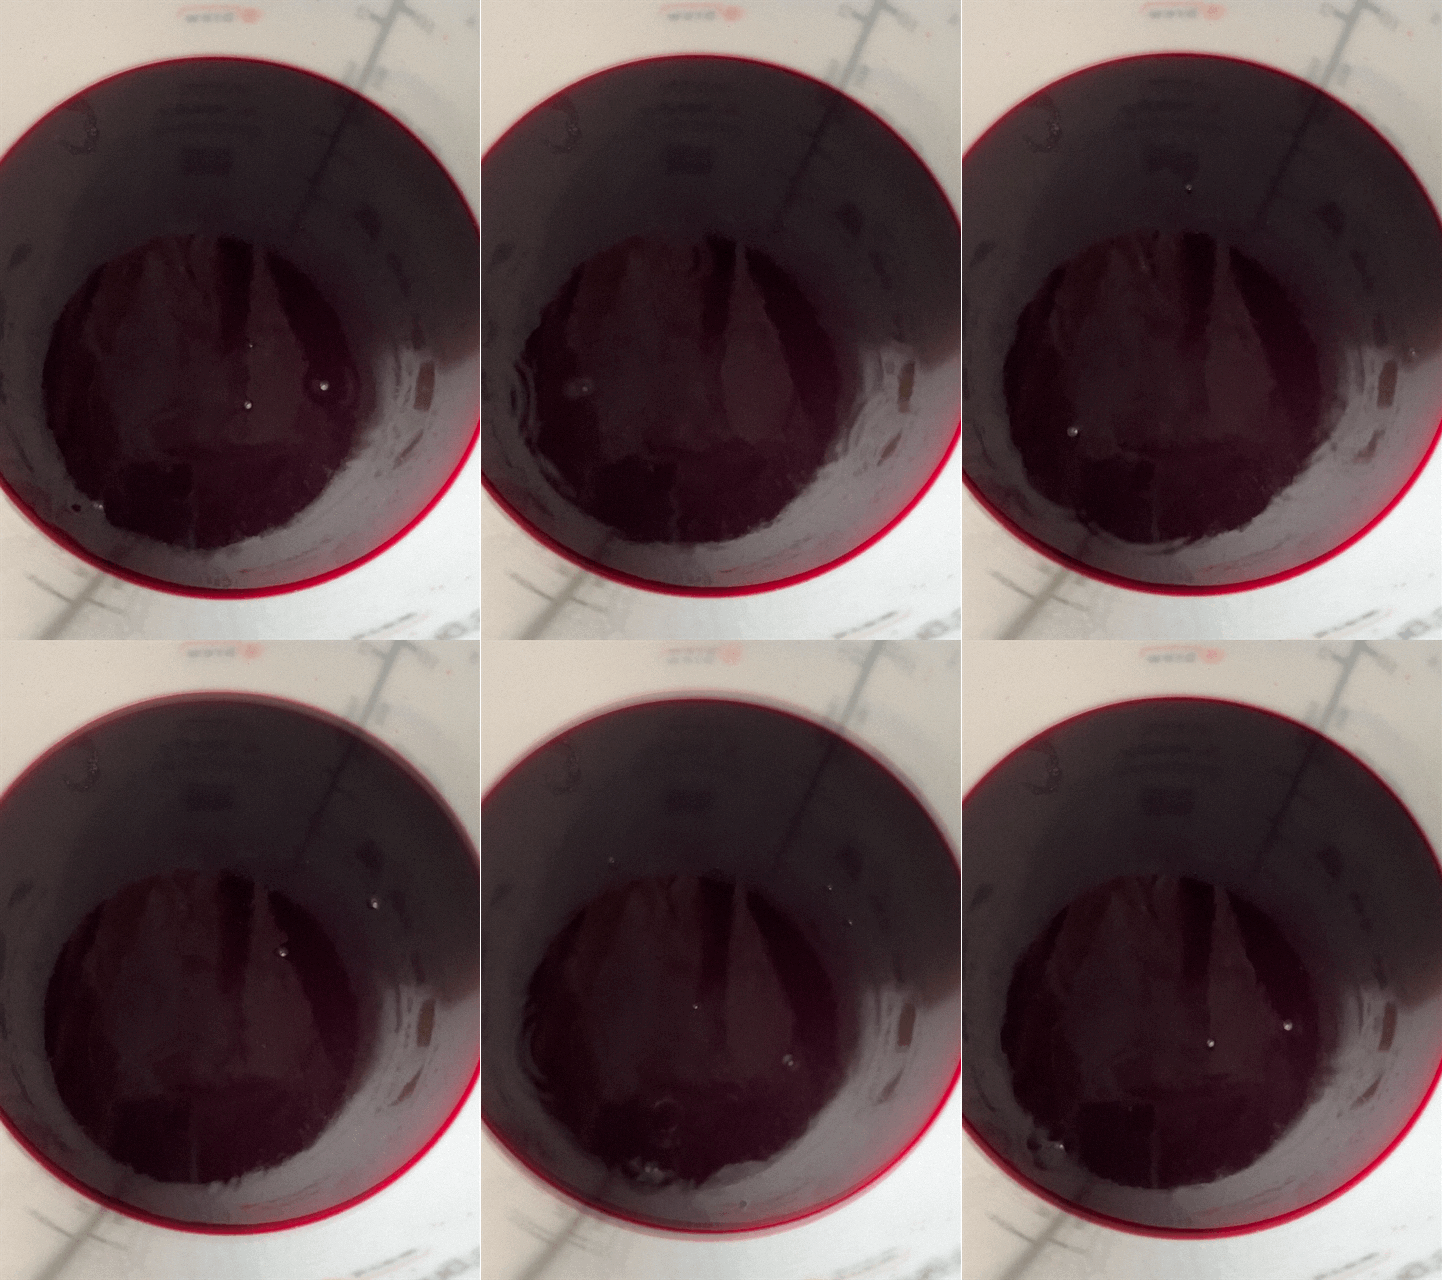
- Stir daily for the next 10 days. You should be able to see the yeast activating with bubbles forming and rising to the surface.
5. Transferring to a Demi-John
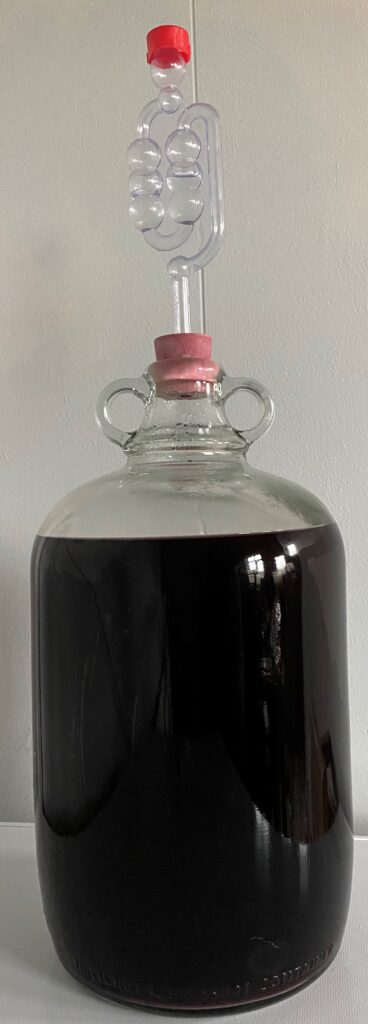
- After 10 days, transfer the liquid to a Demi-John.
- Fill vessel with the Elderberry liquid, all the way to the top of the shoulder.
- Fit a bung and airlock (half-fill it with sterilised water)
- Leave in a warm place – ideally at 18°C – 22°C to allow for the fermentation to complete.
- Fermentation has finished once the bubbles stop appearing. This usually takes up to 4 weeks.
6. Racking
- Once fermentation is complete, rack (siphon) the Elderberry wine into a clean Demi-John.
- Add 1 crushed Campden tablet and stir.
- Refit the airlock and leave in a cool place – ideally at 18°C.
- Leave until all the sediment has settled to the bottom and the Elderberry wine is clear.
- The wine may need racking a couple of times until it is totally clear.
7. Bottling
- Using the hydrometer take a reading and compare it to the original one you took in order to determine the proof of your Elderberry wine.
- Using the funnel, transfer the wine into bottles and leave for 6-12 months.
Enjoy!
