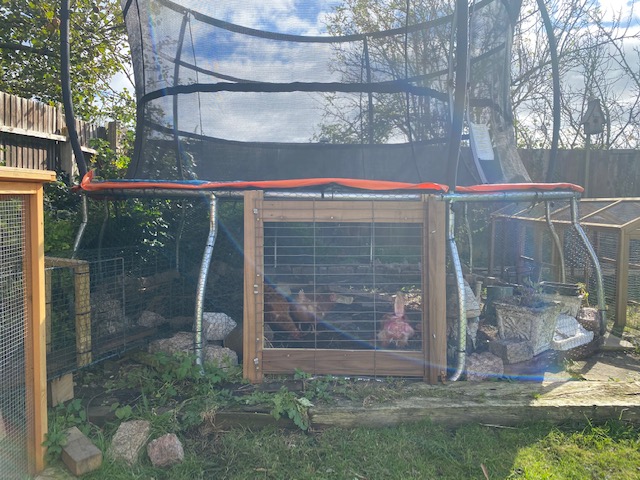
There are various blogs around that detail how you can convert old disused trampolines into chicken enclosures but our kids still use their trampoline on a daily basis, so we wanted to see if we could make use of the space underneath our trampoline but still enable the kids to utilise it for it’s intended purpose.
Why use a trampoline for your chickens?
- It’s a great way to utilise a large area of dead-space in your garden
- It’s low-cost
- It’s easy to create and maintain
- It provides a safe and secure environment for your chickens to forage throughout the day. Read our article ‘Keeping chickens undercover‘ for other ways to keep your chickens safe during the day.
- Due to recent Defra guidelines it is currently essential to keep your chickens away from wild birds. Read our article ‘Chickens in lockdown – how to cope with bird flu‘ for more details.
If you’re looking for a secure, bug-enriched, fun extra space for your chickens to roam around – keep reading!
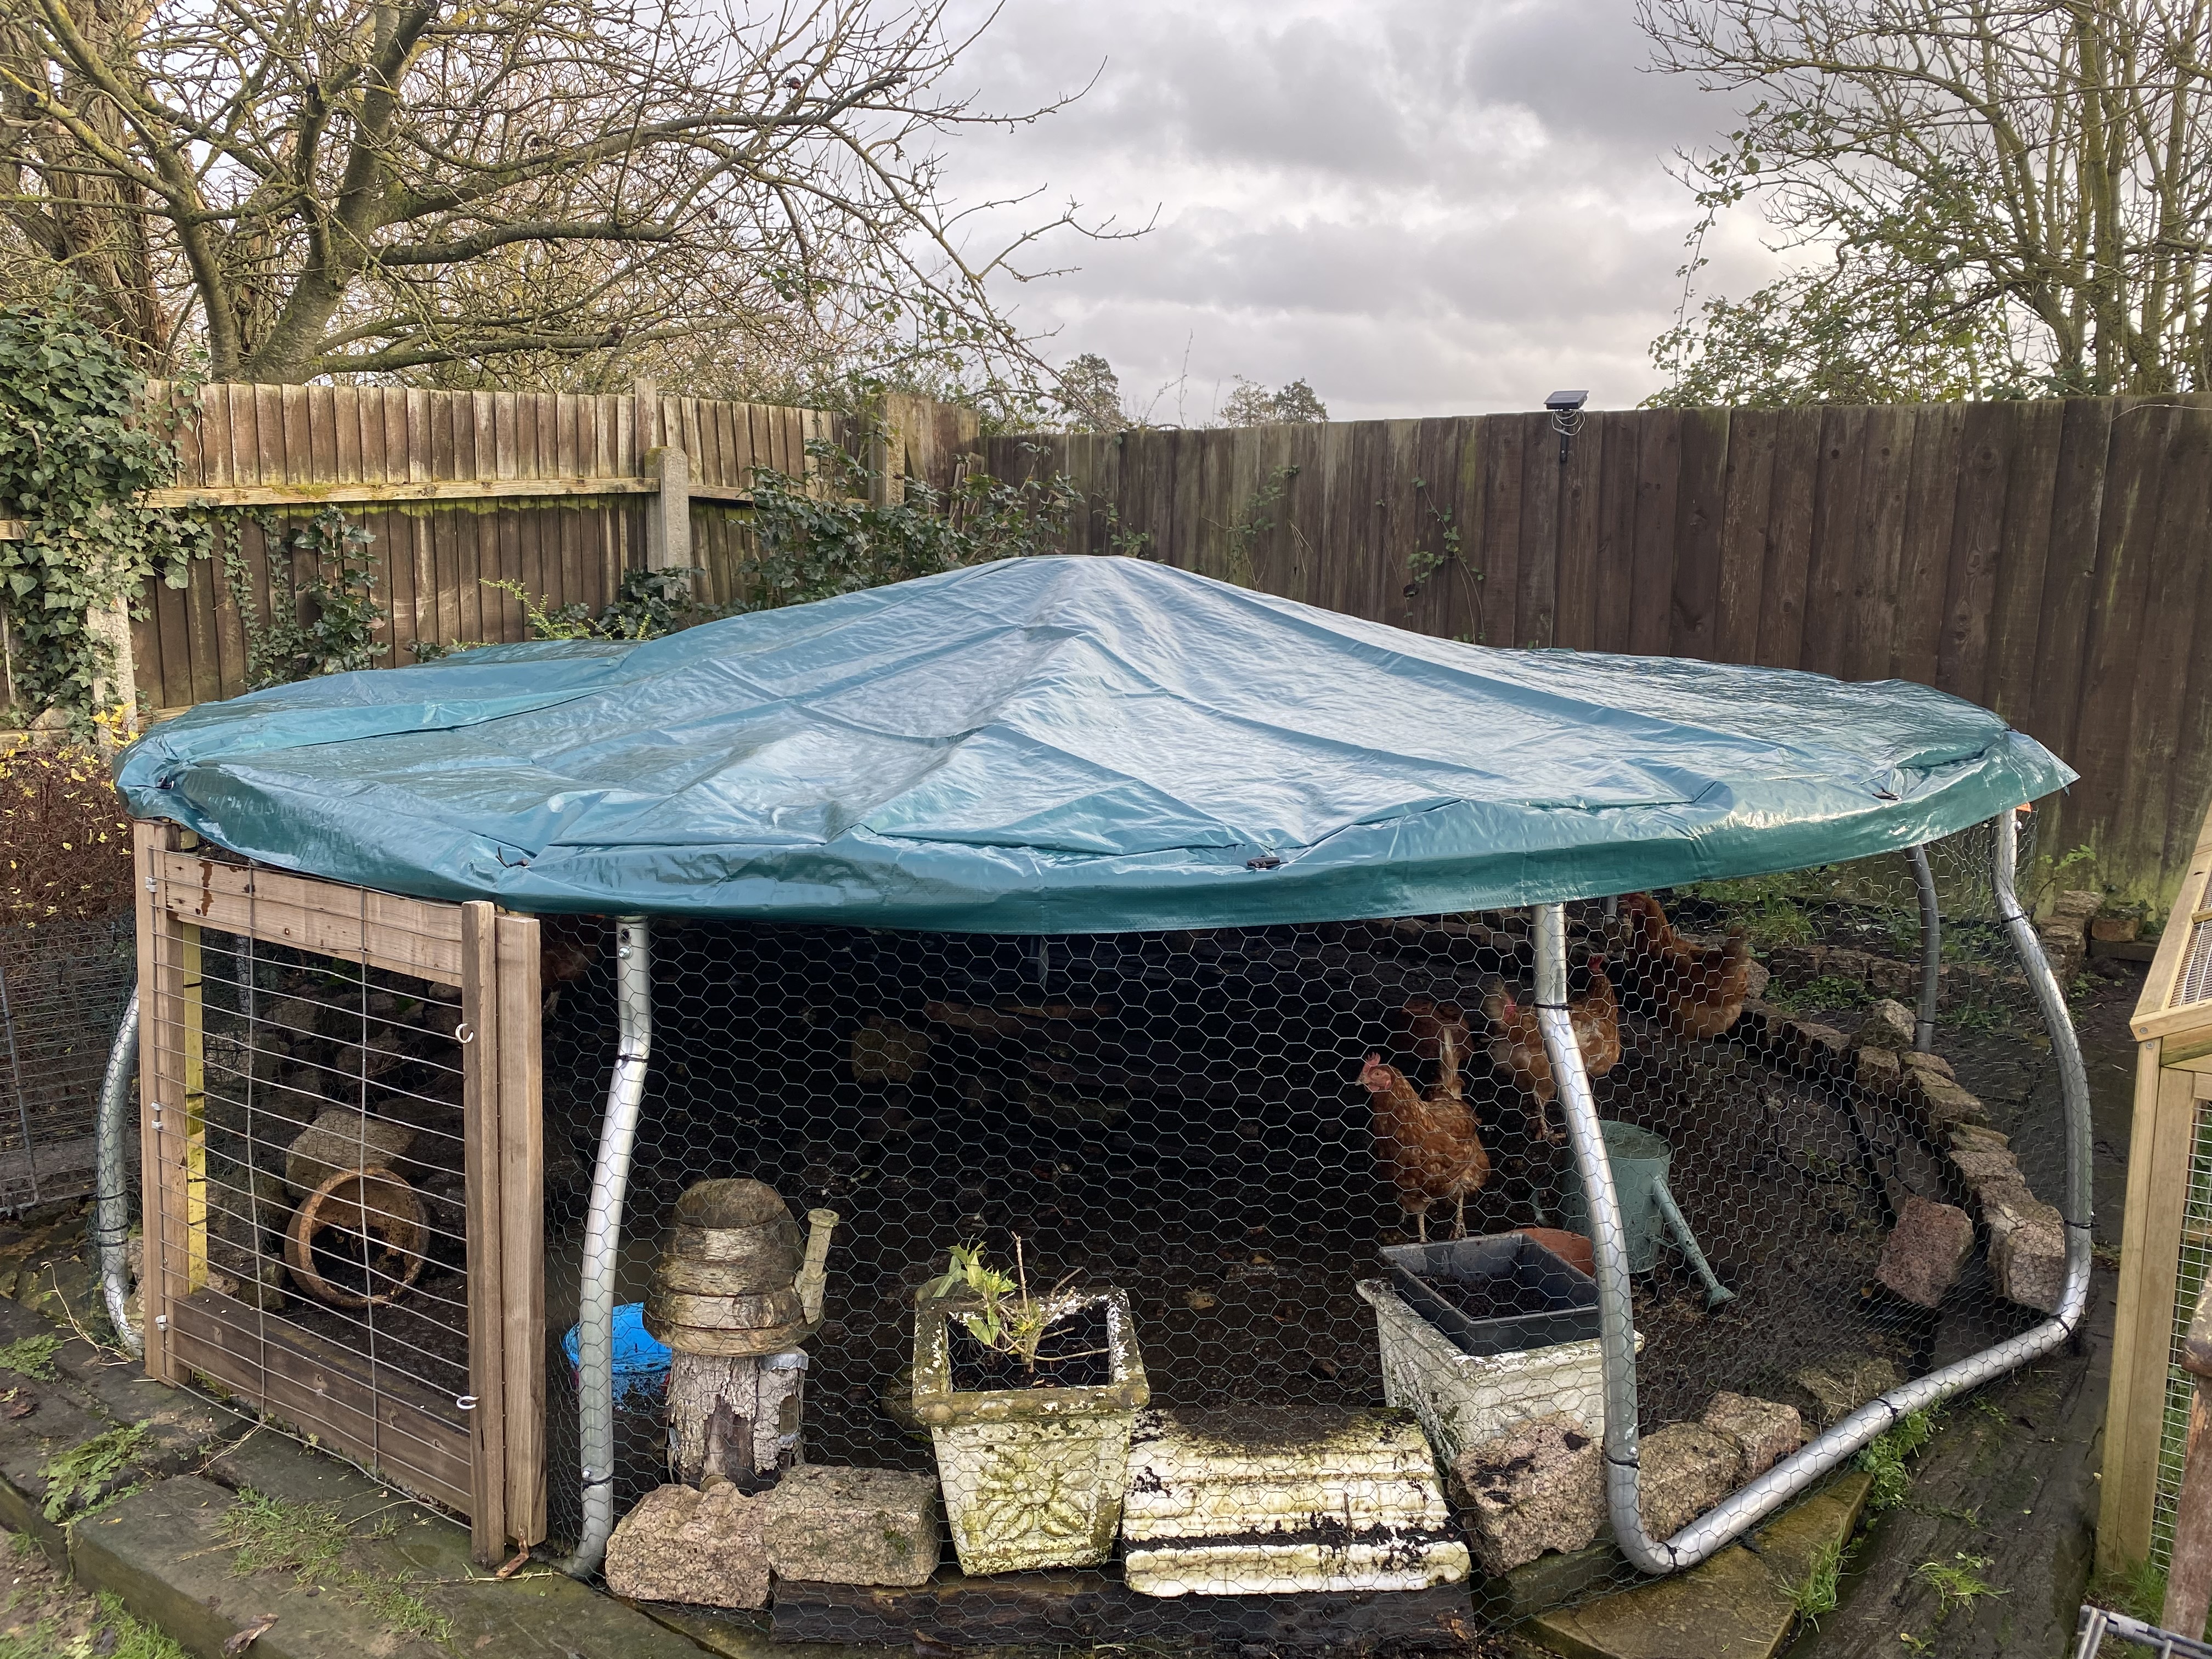
Our trampoline has a diameter of 12-foot. The support frame is made from four galvanised steel wide-legs and sits approximately 1 meter high.
Location, location, location
- Ideally place your trampoline close to your chicken coop.
- We were lucky enough to have a dis-used patio to place our trampoline on which means predators cannot dig underneath the enclosure to access the inside.
- If you are placing your trampoline on soft ground, you will need to reinforce the base of your enclosure first to ensure predators cannot dig under and into the inside. We recommend you dig down 6-9 inches and reinforce with chicken wire to ensure it’s really secure.
Make it safe for your chickens
- At this first stage, give yourself plenty of room so you can navigate all the way around your trampoline. You can move it into it’s final position later.
- Use one continuous loop of chicken wire and wrap it around the circumference of your trampoline. We purchased the 1.2m x 25m wire to ensure we had enough overlap to tuck under the legs of the trampoline.
- Secure the chicken wire in place with cable ties. We added cable ties at the top, middle and bottom of each leg and at intervals around the top, circular steel pole of the trampoline.
- Now lift your trampoline into place – trampolines aren’t that heavy but you might find it easier to have two people to lift it.
- Once in place, ensure you’ve tucked all the loose chicken wire under the legs so it forms a skirt around the whole of the inside of the underneath of the trampoline.
- Fill this skirt with bricks, heavy stones, logs and rubble – anything heavy that a fox or predator will find difficult to displace.
- Ensure you’ve filled all the gaps around the whole base of your enclosure.
Connect it to your chicken coop
- Using any left over chicken wire, create a tunnel to link your coop to your trampoline.
- Make sure the tunnel is big enough for your chicken to comfortably walk through it.
- We reinforced our tunnel with some sturdier metal mesh we had left over from another project.
- We also added a wooden base so it is more comfortable for the chickens to navigate from the coop to their new under-trampoline play area!
- Use wire cutters to snip a hole the same size as your tunnel into the side of your coop and do the same on the side of your trampoline run.
- Bend the cut chicken wire around where it connects to create a secure fitting. We recommend you reinforce this with additional wire to ensure there are no gaps.
Make it accessible for your chickens
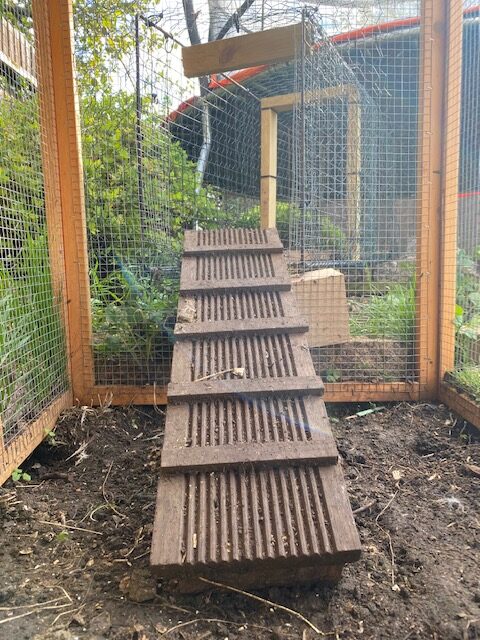
- Add a ramp from your coop to your tunnel so your chickens can easily access it.
- Ensure the ramp isn’t too steep, or your chickens will find it difficult to climb.
- Add rungs to your ramp so your chickens don’t slip if the ramp gets muddy and wet.
Create a bug-friendly environment under your trampoline
This is where you can get creative. Add any of the following to your new trampoline enclosure;
- Chicken-friendly plants
- Pots
- Wood piles
- Earth
- Stones
- Wood chippings / sawdust
The more items your chickens have to scratch around and forage between, the more they will love their new enclosure.
Please just ensure if you intend to continue to use your trampoline to jump on, that you don’t add anything too high in the middle of your chicken enclosure underneath, or you will run the risk of injury – to both the jumper and the chickens.
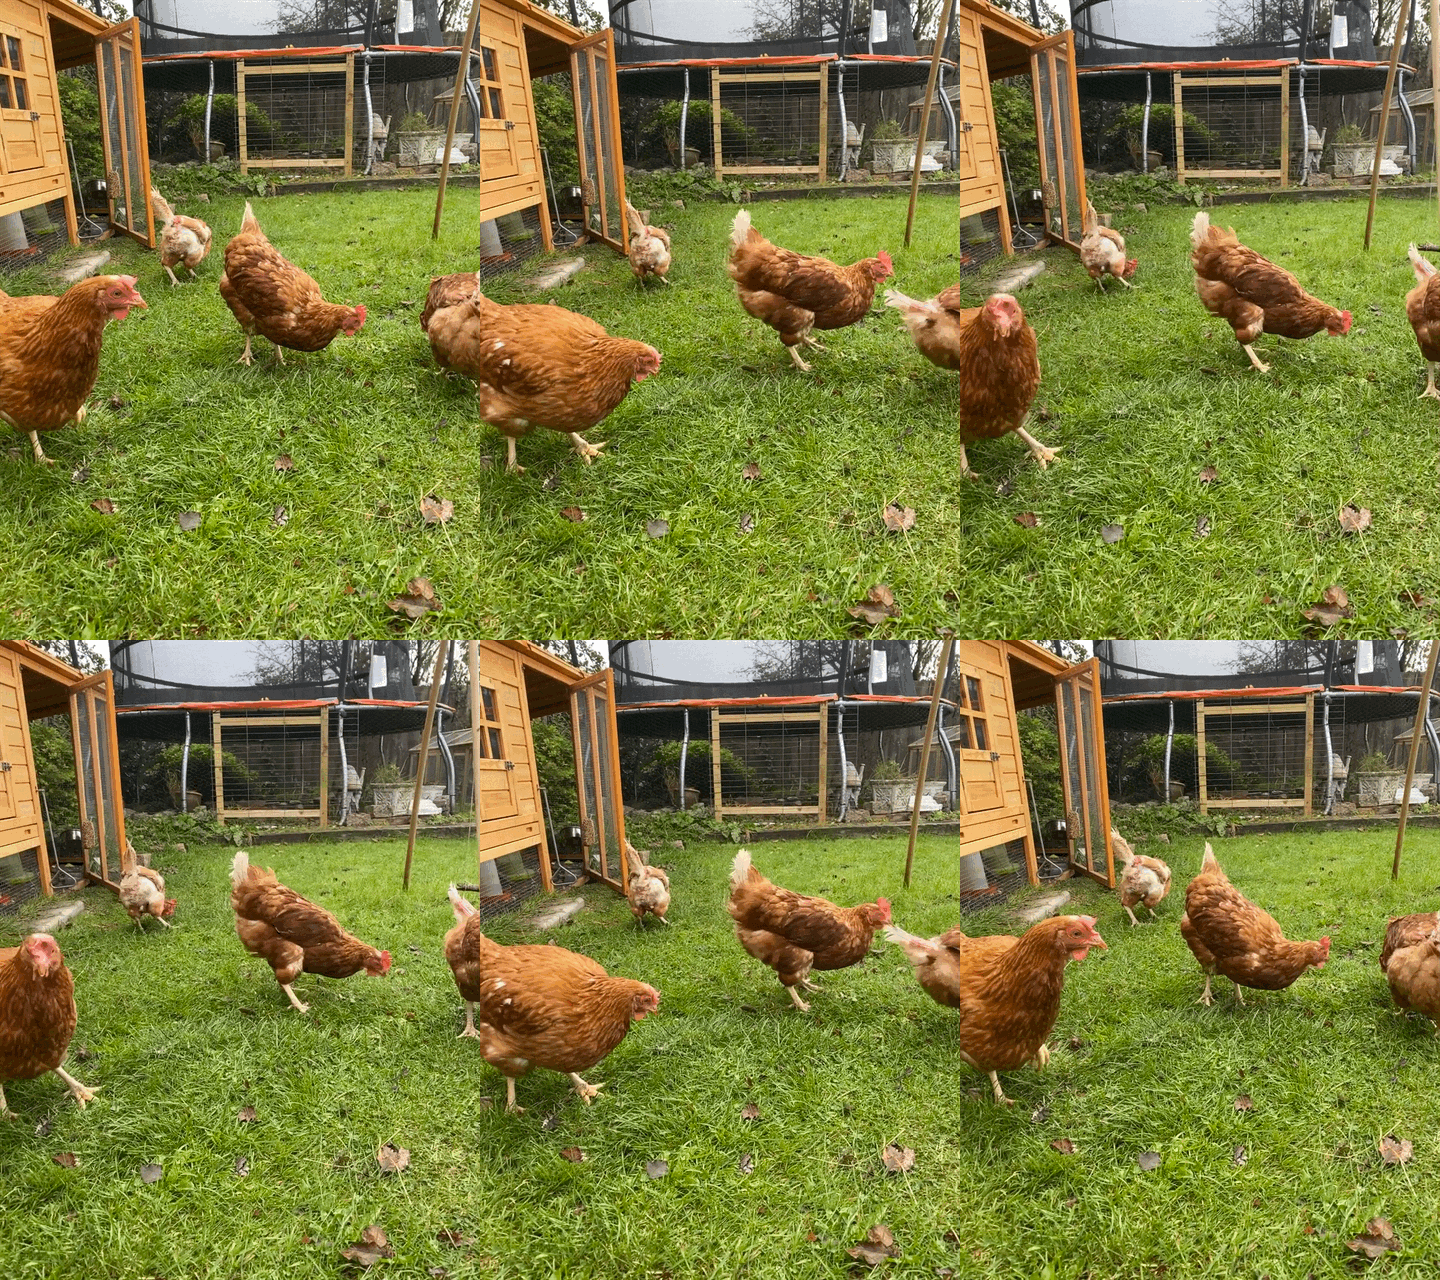
We were worried the chickens wouldn’t be happy under the enclosure when the kids were using the trampoline at the same time but we were surprised by how they quickly adapted and they now seem to quite enjoy watching the kids play and jump around above them!
Make it accessible for maintenance
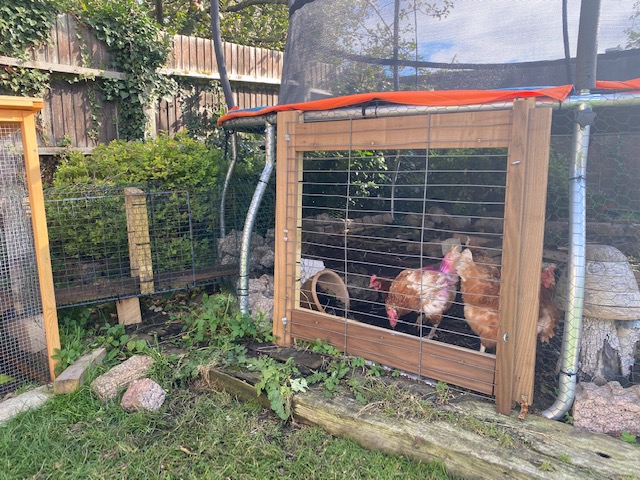
We chose to add an access hatch at the front of our enclosure to make it easier to maintain. We can open the hatch and easily crawl underneath the trampoline to replace any displaced stones, clean the enclosure or carry out any maintenance repairs.
Make it waterproof
If you are looking for a fully water proofed enclosure for your chickens then a trampoline jump-mat on will only provide limited protection, so your chickens will still get a little wet if it rains when they are underneath it. However, if your trampoline has a collapsible top section, you can purchase a trampoline cover that creates a fully waterproof solution!
